Packing space
- The packing height determines the volume of sealing modules that shall be utilized in a frame opening. Correct utilization of the packing height is crucial for certified product performance.
- The packing height (h) as presented in the table equals the inner height of the frame opening (H) minus the required space in mm for the compression unit
- The combined height of the chosen sealing modules must always correspond to the packing height (h)
- Calculate the correct packing height according to installation instructions before selecting sealing modules

| Measured in millimeters, mm. |
| Frame height (H) [mm] | Packing height (h) [mm] | Frame size |
| 101 | 60 | 1 and 2 |
| 160 | 120 | 3 and 4 |
| 218 | 180 | 5 and 6 |
| 278 | 240 | 7 and 8 |
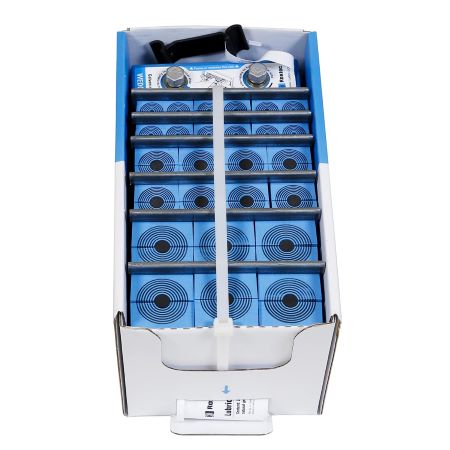
Module boxes
By using our standard module boxes it is easy to match the correct amount of modules with the packing space. One standard module box equals the packing space of a frame size 4 and two boxes equals the packing space of a size 8 frame.
Pre-configured sealing kits
We recommend using our preconfigured kits (available for frame size 6), including sealing modules, stayplates and the Roxtec compression wedge. You always know that you have the correct number of modules for your frame opening provided in the kit box.
Select module sizes
When selecting sealing module sizes, you can choose either fewer, larger modules and save some installation time or several modules of smaller size and get more sealing spare capacity for the future.
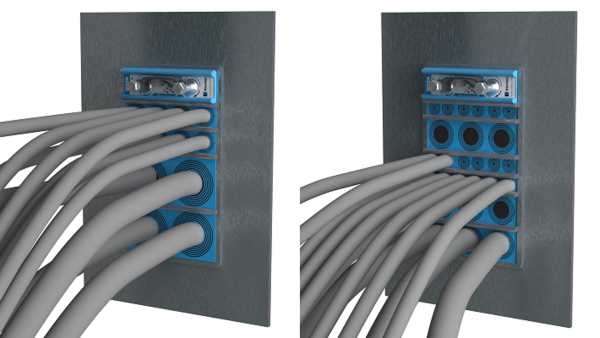
To the left, 12 cables sealed using the largest possible modules. To the right, the same 12 cables are sealed with the smallest possible modules creating spare capacity. 15 additional modules are installed for future spare capacity.
Preparations
Prepare the workspace before you start the installation work. Clean the installation area if necessary, and ensure that the opening you are going to seal is easily accessible. Make sure you have all components at hand.
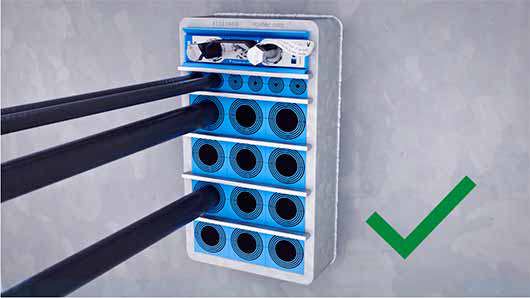
Arranging the cables
Make sure that cables (and pipes) go straight, not angled, through the frame. If necessary, loosen the cables from the supports to admit movement. Heavy cables should be supported during the installation.
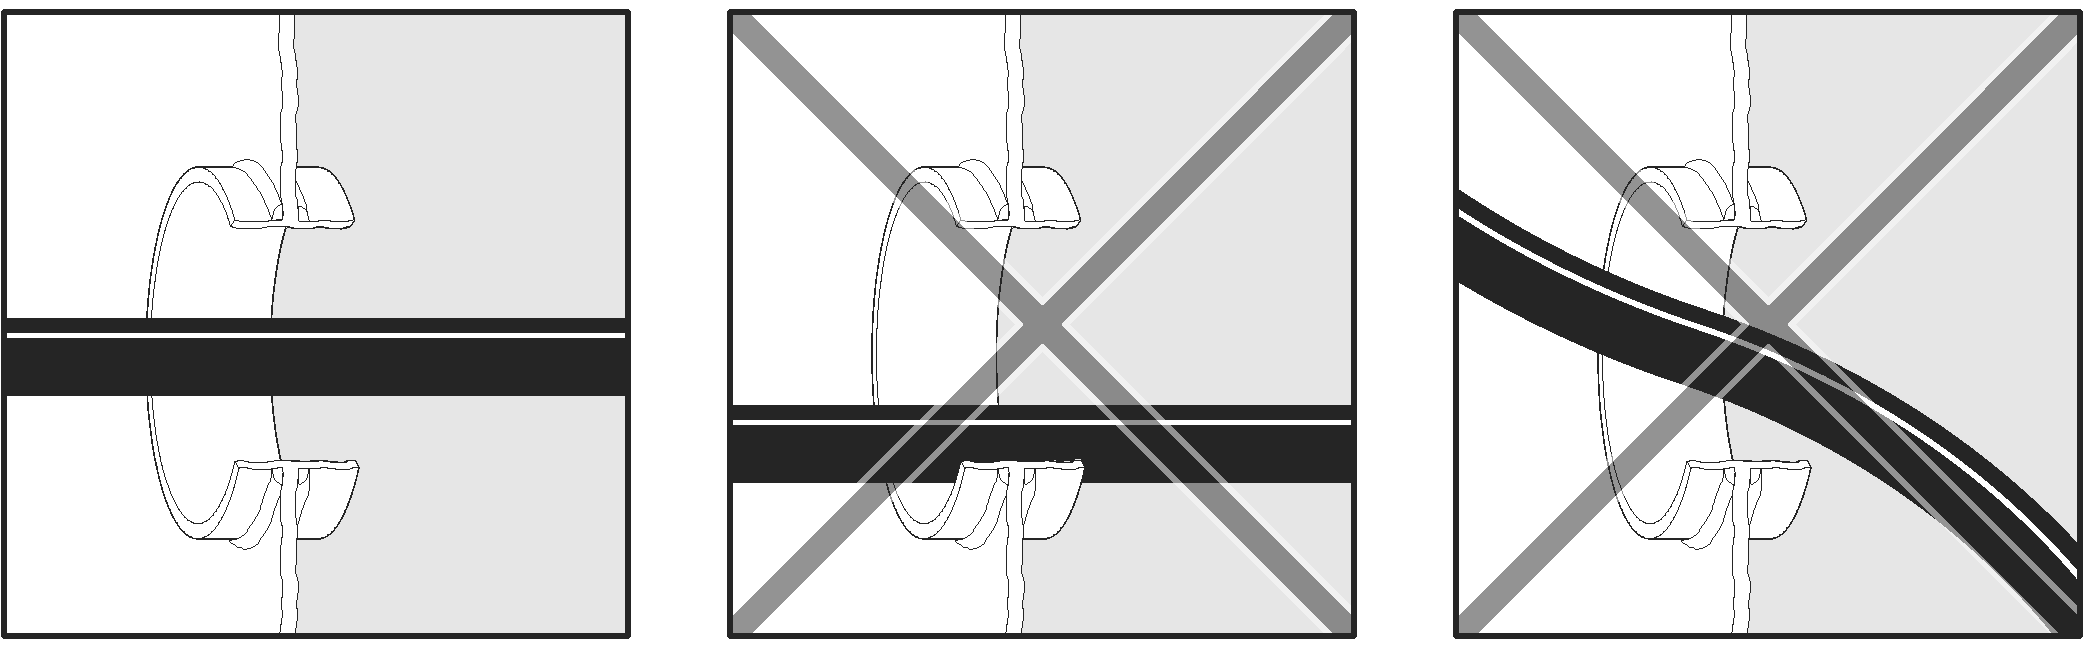
Please note that Roxtec provides frames that can be welded tilted if you know services must pass the transit with a steep angle.
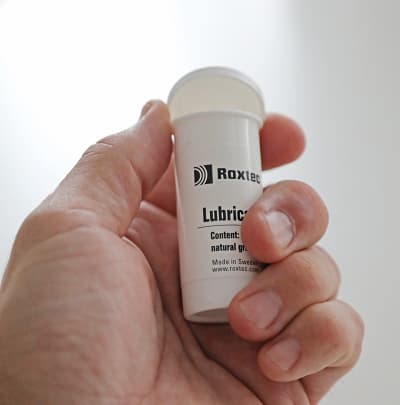
Warm the lubricant
Warm up the lubricant in your hand or pocket to soften it when installing in cold temperatures. The lubricant is an important part of the system.
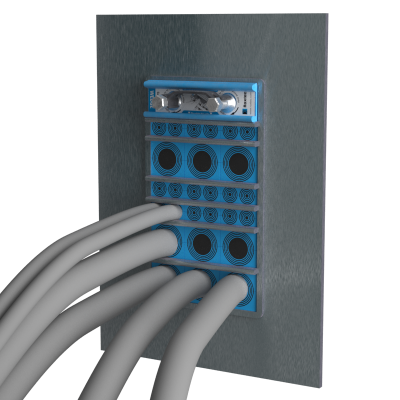
Component placement
If you plan to add cables in the future, you can save time by placing the spare capacity modules close to the compression unit. Placing the cables in the bottom of the seal is beneficial for the sealing performance.
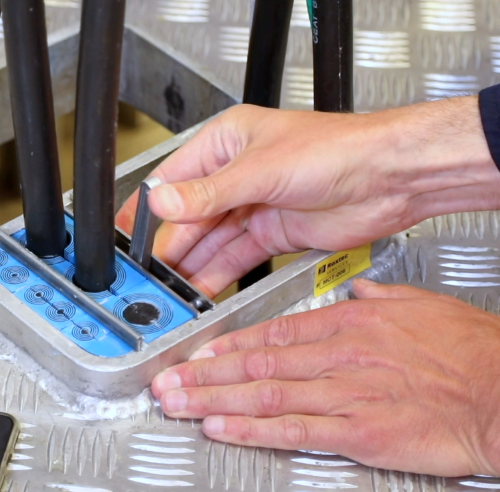
Use the stayplates to separate the cables
Use the stayplates to separate and keep cables apart during the installation work. This will make the insertion of the sealing modules easier. Our installation tool, Module holder, helps keeping cables and stayplates in place during installation.
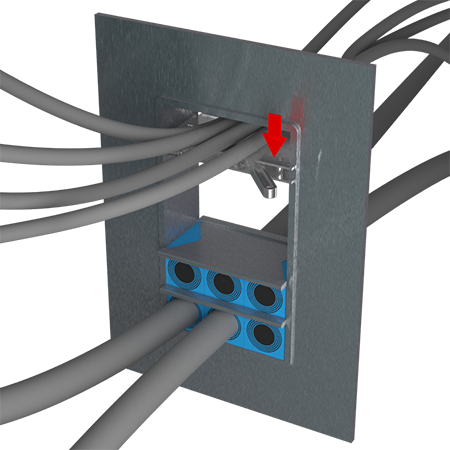
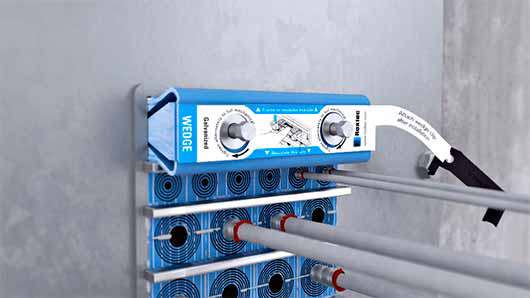
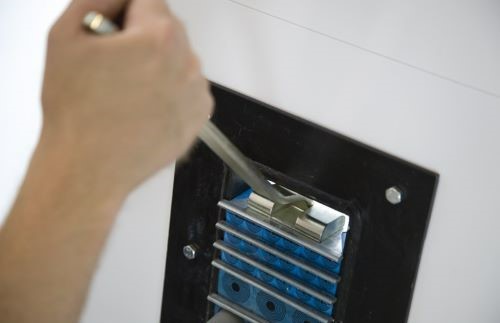
Pre-compression
When there is no room for the Roxtec compression unit or the last row of modules, pre-compression is necessary. Use a Roxtec pre-compression tool to make room and ensure that the entire packing area is correctly filled. Hold the pressure for a few minutes before inserting the wedge. Make sure cables are not retained before compressing.
Partial or interrupted installation
During installation, use the Roxtec module holder tool to avoid disturbing elements and keep your workspace clear of cables.
If you are being interrupted and momentarily must leave you current task, use the module holder to keep everything in its place until you can resume your task.
Partially installed sealing systems shall be compressed if left unattended for a longer period of time. A Roxtec pre-compression tool is very helpful.
Complete the entire assembly before tightening the compression units
To simplify insertion of the Roxtec compression wedge in combination frames, tighten the wedges after filling all openings. This is because the pressure will make the inner frame walls bulge slightly.
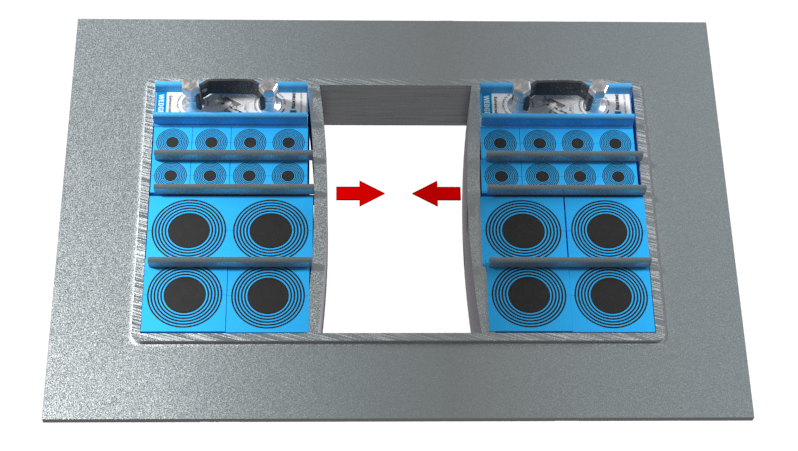
Please note that this is a heavily exaggerated illustration.